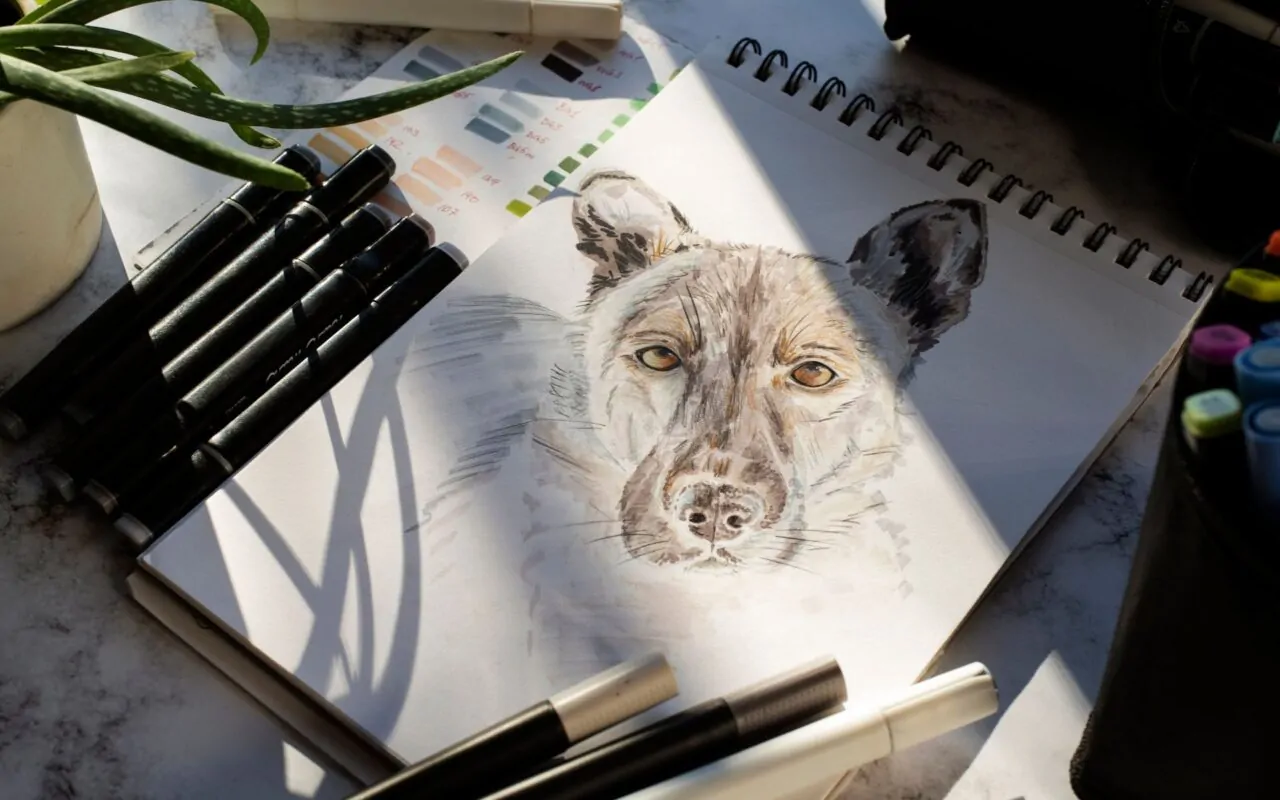
Realistic drawing seems to be hard work, especially for novices. However, through the right approach, the proper tools, and the mindset, anyone can master realistic drawing. At Strokearts, we inspire budding artists with our classes for children and beginners in techniques and insights into how creativity is nurtured. This blog will help guide you through the creation of realistic drawings with step-by-step instructions, tips, and common mistakes to avoid.
Understanding Realistic Drawing
A realistic drawing is a copy of what you see, as close to the original as possible. It emphasizes details, proportions, textures, and shading to bring life to your artwork. The art requires practice, patience, and an understanding of fundamental techniques.
Steps to Create a Realistic Drawing
- Choose a Subject
Beginners should choose the simplest object. For those learning to draw, fruits or simple shapes would be best, such as cups. When one learns to closely observe their chosen subject, they will create an excellent replica. Facially expressing or landscapes should be interesting for more developed learners.
- Tools
Right tools can determine the level of quality on your work. These basic tools consist of:
– Pencils (HB to outline; 2B up to 6B in shading)
– Erasers (rubber erasers for small areas, kneaded erasers for highlights)
– A sketchpad or high-quality paper
– Blending tools (tissues, blending stumps, or cotton swabs)
- Outline the Basic Shape
Draw the basic structure of your subject lightly. Use soft strokes and pay attention to the overall proportions. This is the foundation for the details you will add later.
- Refine the Outline
Once satisfied with the initial sketch, refine the outline. Pay close attention to the subject’s contours and erase unnecessary lines for clarity.
- Add Details
Break your subject into smaller sections and add details systematically. For instance:
If drawing a portrait, focus on the eyes first, then move to the nose and mouth.
Observe textures, like the smoothness of skin or the roughness of a tree bark.
- Incorporate Shading
Shading provides depth and reality. Here are some realistic techniques of shading with drawing:
– Hatching: Draw parallel lines.
– Cross-hatching: Draw crossing lines.
– Blending: Rubbing pencil marks smoothly with a blending tool.
– Stippling: Using tiny dots to achieve texture.
Apply layer upon layer gradually, from light shading to darker, to increase contrast.
- Light and Shade
Realistic art relies on light and shadow to create depth. Notice the light source in your subject and copy the shadows carefully. Darker shades should be used for areas away from the light source, and lighter strokes should be used for illuminated areas.
- Highlight and Final Touches
Erase small areas to add highlights to your drawing to make it pop. Examples include the sparkle in an eye or light on a shiny object to add realism.
Sketching Tips for Beginners
- Practice Basic Shapes: Learn to draw circles, squares, and triangles because these are fundamental shapes to complex subjects.
- Use Reference Photos. For beginners, reference photographs will help them understand proportions and detail better.
- Keep Your Hand Light: Use gentle strokes, especially during the initial sketching phase.
- Experiment with Tools: Discover your preferences by trying various pencils, erasers, and blending tools.
- Enroll in Classes: Drawing classes for children or beginners can help you learn advanced techniques with expert guidance.
Common Mistakes in Realistic Drawing
Even professionals make mistakes. Here are the most common mistakes and how to avoid them:
- Not Keeping Proportions
It is a very common mistake to not keep proportions correct. Use grids or draw with a pencil and measure to get the right scale.
- Overusing Outlines
Outlining everything can make your drawing look cartoonish. Try shading and blending to define shapes.
- Not Using Light and Shadow
Drawings that don’t have proper light and shadow look flat. Always look for the light source and shade accordingly.
- Skipping Practice
Improvement comes with consistent practice. Set aside time daily to hone your skills.
- Rushing the Process
Patience is a virtue. Avoid rushing over details since this may compromise the general quality of your work.
Benefits of Realistic Drawing for Children
Introducing realistic drawing techniques early helps children in developing visual and motor skills. Our drawing classes for children make learning fun and engaging by fostering creativity while improving their observation and replication skills.
Conclusion
Realistic drawing is enriching as it brings forth observation, patience, and practice. You’re able to create lifelike artwork if you follow the steps stated here, using the proper materials, and avoiding common mistakes. You become a great teacher whether the student is a beginner or child-led through structured learning and even practice to unlock endless creative opportunities.
At Strokearts, we offer tailored classes for kids and adults, in order to make artists at any level perfect their craft. Join the community of learners and discover the art of creating realism.


